Google Sheets API Tutorial
This tutorial will teach you how to read data from a Google Sheets document with JavaScript.
Want to see it in action? I used the Google Sheets API to create my list of web cliques.
Intermediate JavaScript knowledge is required.
1. Creating the API key
To read data from a Google Sheets document, we will need to use the Google Sheets API. To do this, we need an API key, which is like a password that we need to use so that we're allowed to use the API. Thankfully, the Google Sheets API is free.
The API key will look something like this: AIazSyAkeZN1nT_waVBWKMbDy0F68lxe-fRKbOo
Here's how to create a key:
- While logged into your Google Account, go to the Google Cloud Console.
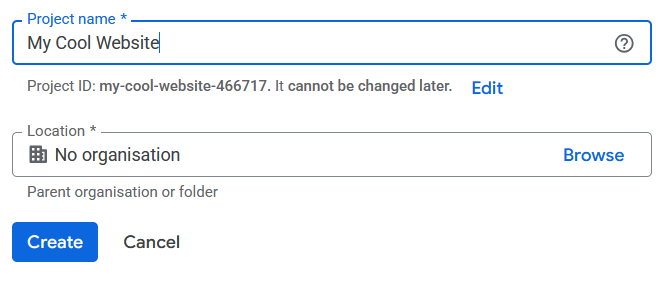
- There, create a new project for your website. Pick any Project Name, and for the 'Location' keep the default selection.
- Once you've created the project you can use the menu (open it by pressing the menu button in the top left corner) to navigate to "APIs and services", then to "Credentials". (Or just use this link)
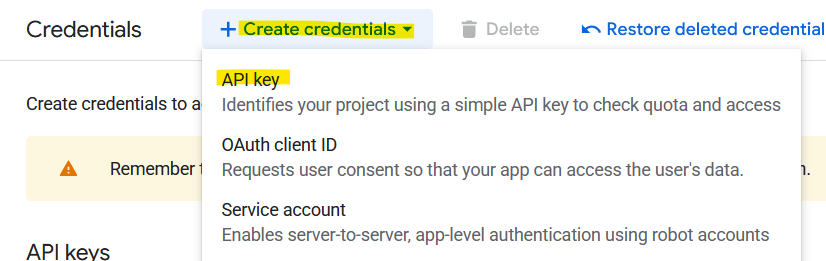
- On the "Credentials" page, click the "Create credentials" button on the top and select "API key". You can now copy this key for later. (The name of the API key does not matter.)
Now, after saving your API should already work. However:
Anyone who knows the key will be able to use it. Since we will be using the key in a JavaScript file, anyone who inspects the code of your website will be able to view your key and therefore use it! If you think nobody will do that, you don't have to do anything. Since we will only be using the key to READ data and not WRITE data, it's really not that terrible if someone does use your key. But if you want to prevent it anyways, you will need to do the following steps:
- Edit your key by pressing the button on the right and selecting "Edit API key"
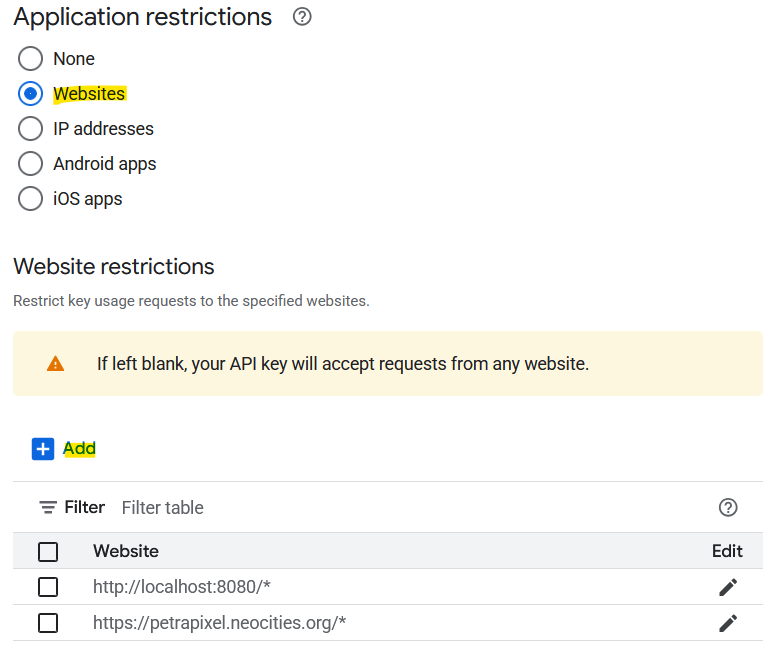
- Under Application restrictions, choose "Websites".
- Now there should be a (still empty) list of websites that are allowed to use the API key. Press the "Add" button to add a website.
- For the live version of your website, add something like this:
https://petrapixel.neocities.org/*(Make sure you have the*at the end, otherwise it will only work on your home page.) - If you also edit your website on localhost, you also need to add
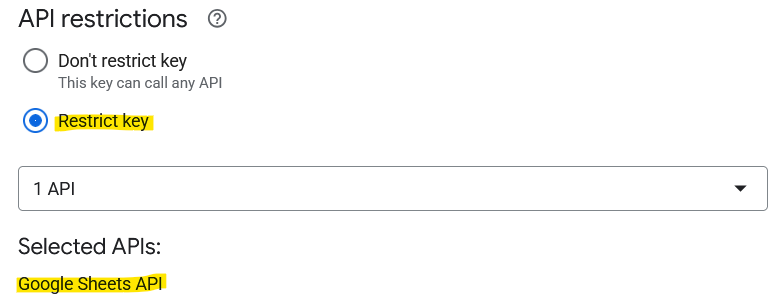
http://localhost:8080/*(change the port to whatever port you use). - Under API restrictions, choose "Restrict key" and select the "Google Sheets API" only. This means that your key can only be used for this API and no other Google API.
Now save. As it says there, it might take a few minutes before the changes take effect.
If you have a public GitHub repository for your website: For further protection of you API key, you could use Environment variables (.env file). However, keep in mind that at the end of the day, your API key will still be publically visible for anyone inspecting the JavaScript code of your website, so you can't really fully hide it. For this reason, I won't be covering how to use environment variables in this tutorial.
2. Creating the data
You can now create a Google Sheets document with any data imaginable. For example, a table of movies you've seen: Each row is a movie, and you have the columns "Movie name", "Year", "Rating", etc.
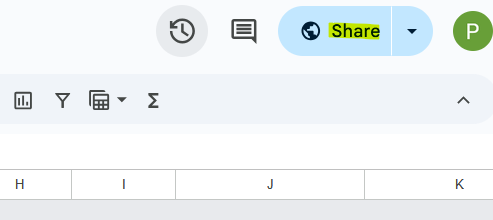
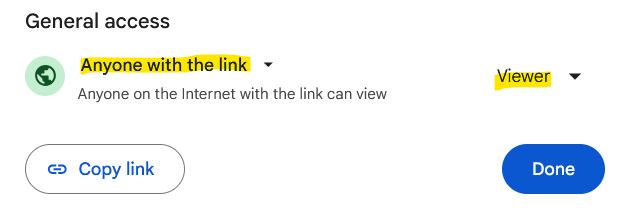
Now, publish your file to be read-only for anyone who has the link. (Your Google Sheets Document -> Share -> General access -> Anyone with the link: Viewer)
Optional: Google Forms
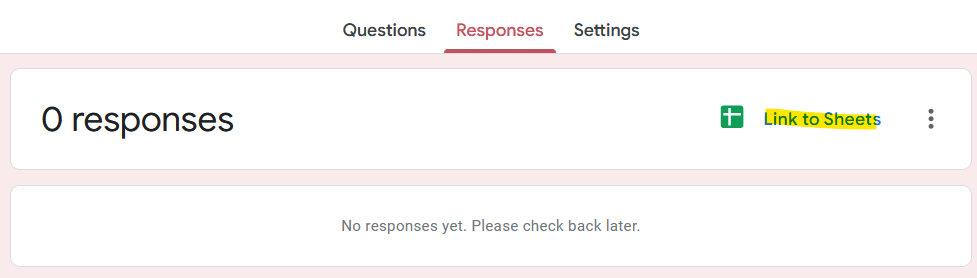
You can create a Google Form and link it to a Google Sheets document (Your Google Form -> Responses -> Link to Sheets). That way, new responses will be automatically added to the Google Sheets document, and the changes are instantly live on your website.
You will still need to publish your Google Sheets document if you do this. (Share -> General access -> Anyone with the link: Viewer)
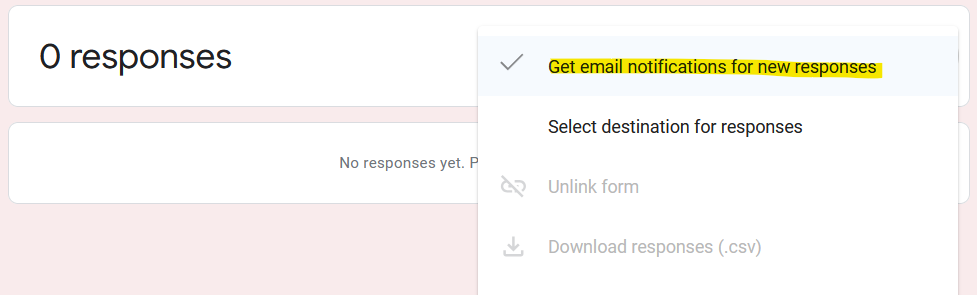
Tip: You can receive an email whenever someone submits a response to the form. (Your Google Form -> Responses -> Menu -> Get email notifications for new responses)
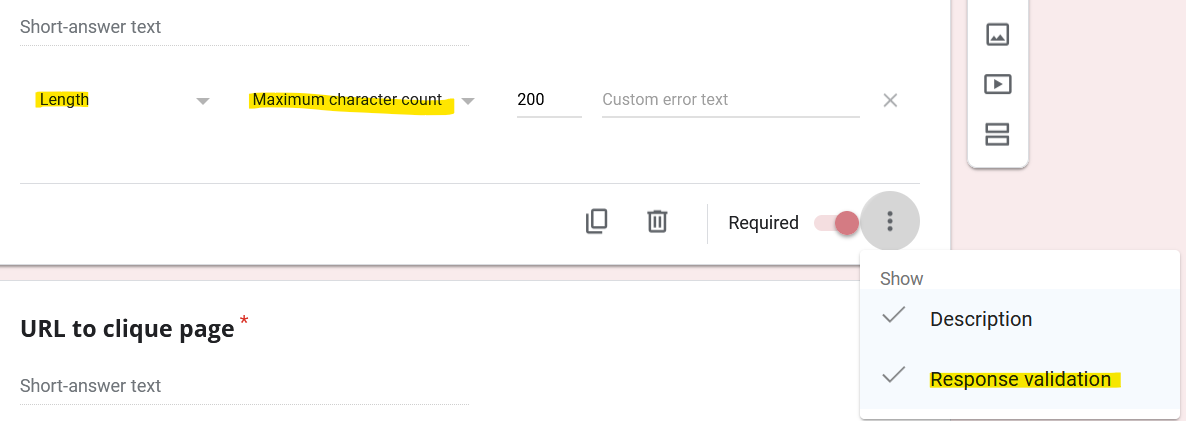
If you do this, people will be able to add data to your website by filling out the form - without you having moderated the responses first! Therefore, make sure you have proper response validation in place (Your Google Form -> Your Question -> Menu (Button on bottom right) -> Response Validation) (I recommend at least a maximum length) and check your data in the JS code.
Also, do not use .innerHTML = to display data on your website if you display data inputted by users, otherwise they will be able to inject HTML code and potentially change the appearance and content of the entire page! Read more about malicious code injection here.
I would also recommend not displaying images submitted by users, as this would make it easy for trolls to display bad things on your website. Instead, you can accept images in your form, but read from a different (manually created) column in your JS. That way, you can check submitted images, and if they're okay you can add them to the manually created column. For example, I have an "Image" column that is automatically filled with user input, and a "Image to Show" column that I fill myself, which is then read in my JS and displayed on my site.
3. Reading the data
We will be using the spreadsheets.values.get method of the Google Sheets API to read our data in JavaScript.
For this, we need 3 values:
- The Google Sheets API key we have created, looks like this:
AIazSyAkeZN1nT_waVBWKMbDy0F68lxe-fRKbOo - The ID of the Google Sheet document. You can get this from the URL of the spreadsheet, after "/spreadsheets/d" and before "/edit?...", e.g. in _https://docs.google.com/spreadsheets/d/1NhbWY2j-D2IMuOh2y7jP8wPL4oik8b-riaWOTxFD7Oc/edit?gid=1893245691_ the ID is
1NhbWY2j-D2IMuOh2y7jP8wPL4oik8b-riaWOTxFD7Oc

- The name of the sheet inside our document that we want to read, by default it is
Sheet1orForm responses 1

Look out: If you're using Google in a different language, the default name of the sheet is different!
Here is the function we will be using:
async function fetchGoogleSheetData() {
try {
		const apiKey = "YOUR_KEY_HERE";
		const spreadsheetId = "SPREADSHEET_ID_HERE";
		const sheetName = "Sheet1"; // or "Form responses 1", or default name in other language
		const response = await fetch(`https://sheets.googleapis.com/v4/spreadsheets/${spreadsheetId}/values/${sheetName}?key=${apiKey}`);
		const data = await response.json();
		const rows = data.values; // do something with rows, e.g. rows.forEach(row => ...)
	console.log(rows); } catch (error) {
	console.error("Error fetching Google Sheets data:", error);
	}
}
Make sure to fill out the 3 values (API Key, Spreadsheet ID, Sheet name).
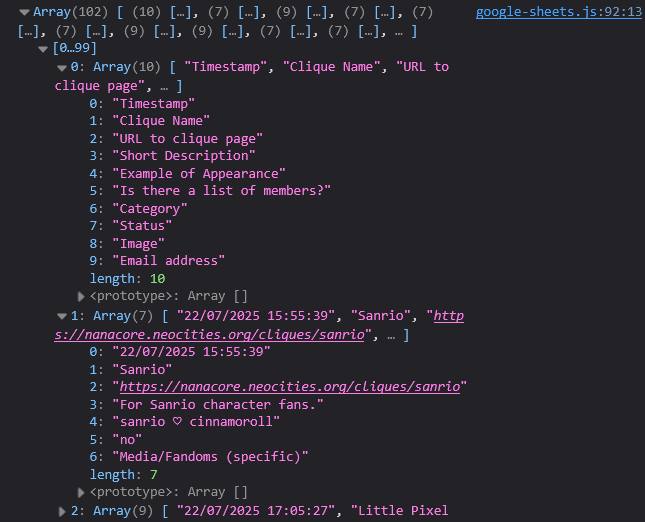
Once you call the function (fetchGoogleSheetData();) you should already see your data (as an array of arrays) in the console! Every array element represents one row, and each element is again an array, with each element in that array representing the content of each column.
Examples: data.values[0][0] is the content of cell A1. data.values[1][2] is the content of cell B3.
Once this works, you can do whatever you want to display the data on your website. In the next section of this tutorial, I will show you how to display the data in a simple table.
4. Processing the data
(This step is optional.)
I highly recommend processing your data before displaying it. For example, filter it, sort it, remove duplicates, etc.
I won't go into detail here because it's not specific to the Google Sheets API - you just use Array functions.
Here is an exaample of processing data:
function processData(data)
	{ return (
		data // only get first 100 rows:
			.slice(0, 100) // only keep rows in which column 1 and 2 are not empty:
			.filter((d) => d[0] && d[1]) // sort alphabetically by the text in column 2:
			.sort(function (a, b) { return a[1] && b[1] ? a[1].localeCompare(b[1]) : 0;
		})
	);
}
5. Displaying the data
**If you have table headings, you might want to split your data into two variables like so:
const tableHeadings = rows[0];
const tableData = rows.slice(1);
Here is a function that displays the data in a simple HTML table. I won't explain this code in detail as I think it should be self-explanatory at this point.
function constructTableFromData(wrapperEl, tableHeadings, tableData) {
  if (!wrapperEl) {
    console.error("Wrapper element for Google Sheets data table not found.");
    return;
  }
  if (!tableData || !tableHeadings) {
    console.error("Data for Google Sheets data table not found.");
    return;
  }

  const tableEl = document.createElement("table");
  const tableHead = document.createElement("thead");
  const tableBody = document.createElement("tbody");

  // Table Headers
  const row = document.createElement("tr");
  tableHeadings.forEach((cell) => {
    const cellElement = document.createElement("th");
    cellElement.textContent = cell; // do NOT use .innerHTML if displaying unmoderated content
    row.appendChild(cellElement);
  });
  tableHead.appendChild(row);

  // Table Rows
  for (let i = 0; i < tableData.length; i++) {
    const row = document.createElement("tr");
    tableData[i].forEach((cell) => {
      const cellElement = document.createElement("td");
      cellElement.textContent = cell;
      row.appendChild(cellElement); // do NOT use .innerHTML if displaying unmoderated content
    });
    tableBody.appendChild(row);
  }

  tableEl.appendChild(tableHead);
  tableEl.appendChild(tableBody);
  wrapperEl.appendChild(tableEl);
}
Tip: If you want to display a loading gif while the data is being loaded, do this: In your wrapper element, add a loading gif. Then, at the very end of the code above, simply hide it (e.g.
document.querySelector("#loadingGif").style.display = "none";)! Boom - easy as cake.
And that's it! Of course you don't need to display your data in a table - your imagination is the limit here!**